Certainly, effortlessly establishing connections between your Mac and Windows computers or servers within your network is entirely feasible. It’s as simple as pie!
Now, let’s delve into the process of configuring your Windows system to enable file sharing with Mac users. This entails following a set of step-by-step instructions for setting up your Windows computer.
Connecting Mac and Windows Computers via Ethernet Cable
When you find yourself in need of seamlessly connecting your Mac and Windows devices, whether it’s for file sharing, collaborative work, or any other reason, there’s a straightforward solution: using an Ethernet cable. This method provides a stable and speedy connection between the two devices, ensuring efficient data transfer. If your Mac doesn’t sport an Ethernet port, don’t fret; a USB-to-Ethernet adapter will do the trick.
Why Ethernet?
Ethernet connections are known for their reliability and speed. When you connect your Mac and Windows devices using an Ethernet cable, you’re creating a small, localized network that’s dedicated solely to these two devices. This eliminates potential interference and slowdowns from other devices on your home network.
Step-by-Step Guide:
Connect the Hardware: Plug one end of the Ethernet cable into the Ethernet port on your Mac and the other end into the Ethernet port on your Windows computer.
- Prepare the Windows Computer:
- Turn on File Sharing: To share files between the two computers, activate file sharing on your Windows computer. If you’re unsure how to do this, refer to the user manual or on-screen help for guidance;
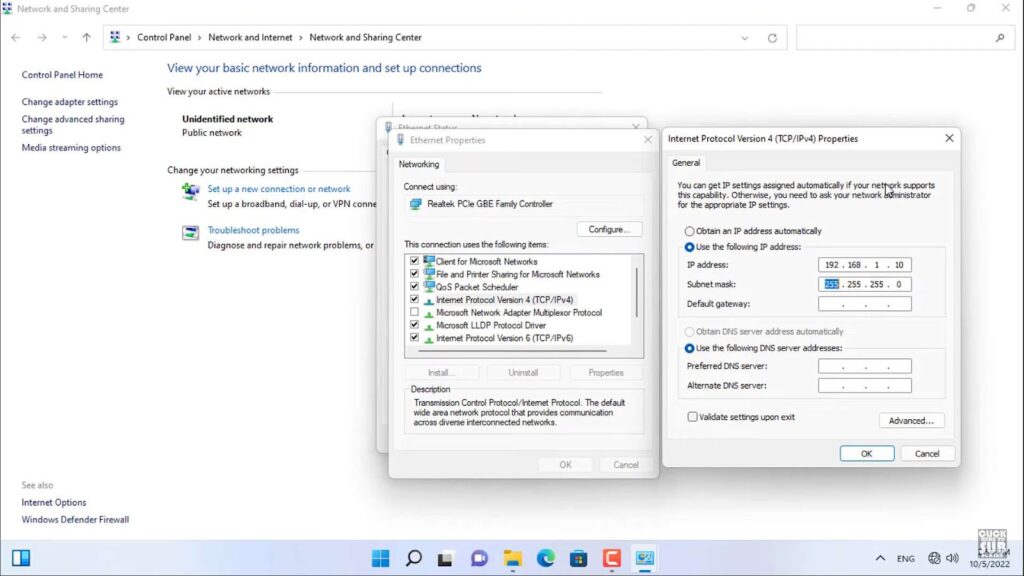
- Check Firewall Settings: Ensure that the Windows computer’s Internet Connection Firewall is turned off. If it’s enabled, make sure that TCP port 445 is open to permit sharing connections.
- Configure the Mac:
- To access ‘Go’ on your Mac, follow these steps: First, click on ‘Connect to Server.’ Next, select ‘Browse’ to locate the Windows computer within your network. Alternatively, you can manually input the network address into the designated ‘Server Address’ field.
For further assistance and detailed information, refer to the user manual or consult the on-screen help available for your Windows computer if you encounter any difficulties during the process.
By following these steps, you’ll create a reliable and secure connection between your Mac and Windows computer, facilitating efficient data sharing and collaboration.
Efficiently Reestablishing Connections with Shared Computers and Servers
Ensuring a smooth and efficient workflow involves regularly interacting with shared computers and servers. The ability to swiftly and effectively reconnect to these resources is crucial. Here’s a comprehensive guide to make this task simpler and more efficient:
- Utilizing Mac’s ‘Recent Items’ for Quick Access:
- Open the Apple menu, then navigate to “Recent Items.”;
- This section lists recently accessed servers, enabling rapid reconnection;
- Finder Navigation for Server Connections:
- Use the Finder’s ‘Go’ menu and select ‘Connect to Server.’;
- A pop-up near the ‘Server Address’ field displays recently connected servers for easy selection;
- Integrating into Finder Sidebar for Instant Access:
- In Finder, find your desired shared computer, network area, or workgroup;
- Use the ‘File’ menu and select ‘Add To Sidebar,’ or use the Command-T shortcut. This adds the selected item to the Finder sidebar, providing immediate access;
- Creating a Customized Favorites List:
- Again in Finder, go to ‘Go’ > ‘Connect to Server.’;
- After entering the network address, click ‘Add’ to include the server or shared computer in your favorites. This creates a personalized quick-access list;
- Troubleshooting Connection Issues:
- In case of difficulty in connecting, consider these points;
- The server or computer might be temporarily unavailable;
- You may not have the necessary permissions.
To address these issues, contact the computer owner or network administrator. Effective communication can often quickly resolve connectivity problems.
Additional Insights and Recommendations:
- Regularly update your favorites and recent items lists to keep them relevant;
- Familiarize yourself with network settings and permissions for a smoother experience;
- Consider setting up automated scripts or shortcuts if you frequently reconnect to the same servers.
By adhering to these guidelines, reconnecting to shared computers and servers becomes a more streamlined and productive process. This not only enhances your workflow but also saves valuable time and reduces potential frustration associated with connectivity issues.
Connecting to a Windows Computer from Your Mac
Connecting your Mac to a Windows computer may seem like a daunting task, but fear not; we’re here to guide you through the process step by step. Whether it’s for work, file sharing, or simply accessing resources on a Windows machine, this comprehensive guide will ensure a seamless connection.
Initiating Connection to a Server on Mac
- Navigating to the Connection Interface:
- Open Finder on your Mac to start;
- Proceed to the top menu bar and select “Go.” Here, you’ll find the option “Connect to Server.”;
- A new window will open, inviting you to type in the required server address. This is a crucial step, as entering the correct address ensures a successful connection.
Locating a Windows Computer for Connection
- Discovery Process:
- Click the ‘Browse’ button to start searching for the desired Windows computer;
- In Finder’s sidebar, locate the ‘Shared’ section. This area lists available Windows computers by their names, making it easier for you to identify the one you’re looking for.
Establishing a Connection with the Shared Computer
- Finalizing the Connection:
- Once the shared Windows computer appears in the Finder sidebar, select it to begin connecting. If it’s not immediately visible, use the ‘All’ option to view all shared computers within reach;
- This step is critical for ensuring that you are connecting to the correct computer within your network.
Authentication of Your Server Connection
- Verification Steps:
- Click ‘Connect As’ to move forward in the process;
- Occasionally, you may need additional information like the network area or workgroup of the shared computer. If this information isn’t readily available, consider contacting the computer’s owner or your network administrator for guidance.
Credential Input for Secure Access
- Security Measures:
- Depending on the security setup, you might have to enter a username and password. This is a standard security practice to prevent unauthorized access;
- Typically, passwords for Windows computers and servers are about 14 characters long, but this can vary. To avoid any login issues, it’s recommended to verify the exact password requirements with the system owner or network administrator.
Gaining Access to Specific Resources on the Windows Server
- Selective Access Configuration:
- After successful authentication, you’ll be able to choose particular volumes or shared folders on the Windows server to access;
- This step is crucial for maintaining organized and secure access to only those resources you need, thereby enhancing both efficiency and data security.
Pro Tips:
- For added convenience, enable the ‘Remember this password in my keychain’ option when connecting. This will save your username and password for the Windows computer in your keychain, making future connections smoother;
- If you frequently connect to the same Windows computer, consider creating a shortcut or bookmark to streamline the process;
- Connecting your Mac to a Windows computer has never been easier. Follow these steps, and you’ll gain seamless access to the resources you need, whether it’s for collaborative work, file sharing, or simply to expand your technological horizons.
Connecting Your Mac to a Windows Computer: A Comprehensive Guide
If you’re a Mac user looking to seamlessly connect to a Windows computer, you’re in the right place. We’ll walk you through the process step by step, ensuring you have all the information you need for a smooth connection. Whether it’s for sharing files, accessing resources, or collaborating with Windows users, this guide has got you covered.
Step 1: Accessing the Connection Interface
- Open Finder on your Mac;
- Navigate to the “Go” menu at the top of your screen;
- Select “Connect to Server” to initiate the connection process.
Step 2: Enter the Network Address
Now, it’s time to specify the network address of the Windows computer you want to connect to. There are two formats you can use, depending on your setup:
- Using the DNS Name:
- Format: smb://DNSname/sharename;
- DNS name is the domain name of the Windows computer;
- Share name refers to the specific shared folder you want to access.
- Using the IP Address:
- Format: smb://IPaddress/sharename;
- IP address is the numeric address of the Windows computer;
- Pro Tip: If you’re unsure about the correct format for network addresses, you can always refer to the “Network Address Formats for Shared Computers and Servers” for detailed guidance.
Step 3: Providing Credentials
Upon entering the network address, the Mac will prompt you for the necessary credentials to access the Windows computer. Here’s what you need to do:
- Type in the workgroup name and a valid username and password. Ensure these details are accurate;
- Choose the shared folder you want to access on the Windows computer;
- Quick Note: If you don’t have information about the workgroup name and the network name (computer name) for the Windows computer, don’t fret. Simply get in touch with the computer owner or your network administrator for assistance.
Step 4: Additional Authentication
In some cases, you may encounter a secondary authentication request. Here’s what you should know:
- Passwords for Windows computers and servers are typically 14 characters or fewer. Confirm with the owner or administrator to ensure you have the correct password.
Step 5: Enhancing Future Connections
To streamline your future interactions with the Windows computer, consider the following:
- Select the option to “Remember this password in my keychain.” This will save your username and password for the computer in your keychain, making future connections more convenient.
Learn how to fix Apple keyboard connectivity woes -don’t let apple keyboard not connecting’ be your frustration! Discover solutions today.
Conclusion
Connecting your Mac to a Windows computer has never been easier. Follow these comprehensive steps, and you’ll be seamlessly sharing files and resources across platforms in no time. Whether you’re collaborating on projects or accessing important documents, this guide empowers you with the knowledge needed for a successful process. Happy networking!